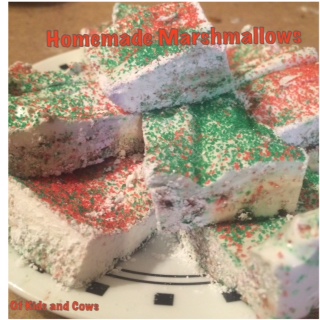
A delightfully simple and sticky tradition in our house is making homemade marshmallows for Santa. Don’t over think this and believe that it’s too hard of a treat to make. Personally I think they are easier (and tastier) than making a batch of cookies.
For those of you unfamiliar with homemade marshmallows, you’re in for a treat. They are nothing like the store bought variety. Soft, pillowy and flavorful best describe this little delights.
Generally we whip up a batch of plain mallows with colorful sprinkles. Feel free to experiment. I have added peppermint extract, dipped them in chocolate, rolled them in crushed candy canes, etc. Have fun with them.
I have found the easiest clean up is to 1) use lots of cooking spray and 2) make your marshmallows in disposable pans. Make sure to wash all your utensils and the saucepan in HOT soapy water immediately for easiest clean up.
Homemade Marshmallows
- 3 envelopes unflavored gelatin
- 1 cup of cold water, divided
- 1 1/2 cups granulated sugar
- 1 cup light corn syrup
- pinch of salt
- 1 teaspoon vanilla
- 1/4 cup confectioners sugar
- cooking spray
- assorted sprinkle, crushed candies, colored sugar, etc
** A stand mixer is a necessary tool in this creation **
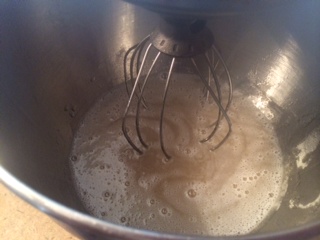
In the bowl for your stand mixer pour in the gelatin and 1/2 cup of cold water. Let stand until the gelatin swells.

While the gelatin is proofing…. In a sauce pan combine, over medium heat, 1/2 cup of water, granulated sugar, light corn syrup and the pinch of salt. Cover and allow to cook 3 minutes unattended. This part is hard for me. Uncover and using a candy thermometer bring the mixture up to 240 degrees. Now if you don’t have a candy thermometer do not give up! I have never used one in this recipe. I apparently like to live my candy making life on the edge. It takes about and additional 4-5 minutes to reach this temp. The mixture will be clear and boiling steadily.

Immediately remove from heat and slowly beat in to the gelatin, using the whisk attachment on your stand mixer. Start at the first setting and gradually work your way up to the faster settings. DO NOT LET IT SPLASH! This stuff is hot!
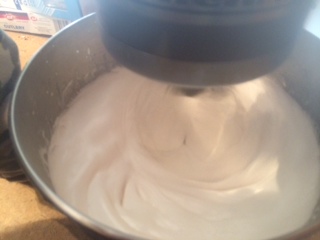
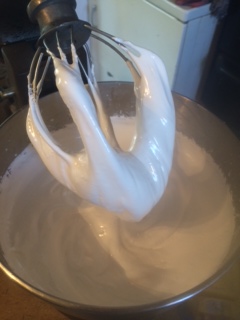
Once you’ve worked up to your highest setting you can go find something else to do for a while. Marshmallows are light and fluffy because of all the air worked in to the gelatin. You will want to let your mixer work for the next 12-15 minutes. When the marshmallows are done the mix will be fluffy, white and thickened. It will sound like it’s working the poo out of your mixer. Add your vanilla.
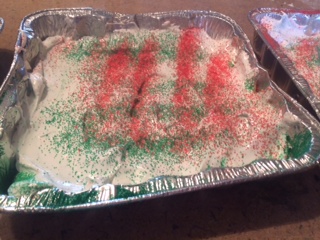
Liberally coat the pans with non stick cooking spray. We also like to dust ours with colored sugar. You could also put your crushed candies in at this point. Divide the mixture up evenly between your pans. I chose 3 8×8 pans. Sprinkle the top with more colored sugar, candies, etc. Now comes the hard part. You need to let them sit for a minimum of 4 hours, preferably overnight.
Once your marshmallows are set they should easily turn out on to a cutting board for you. Spray your knife with cooking spray before cutting. I cut my 8×8 pans in to 16 marshmallows each. Once cut, roll your marshmallows in to the powdered sugar, candies, sprinkles, etc to cover up all the sticky edges.
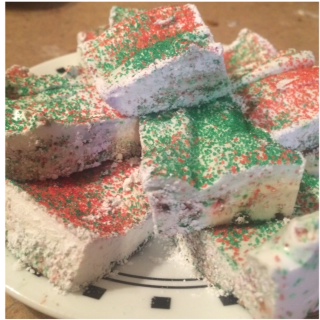
The marshmallows will last up to 3 weeks in an air tight container. Or until Christmas Eve when Santa bellies up!
